
✦ Record 5 Flos
✦ Customize with video editing
✦ Add Interactive elements
Celebrate July 4th with a 10% Independence Day discount! Use coupon code — JULY4QC2024! 🤩
-p-130x130q80.avif)
.avif)
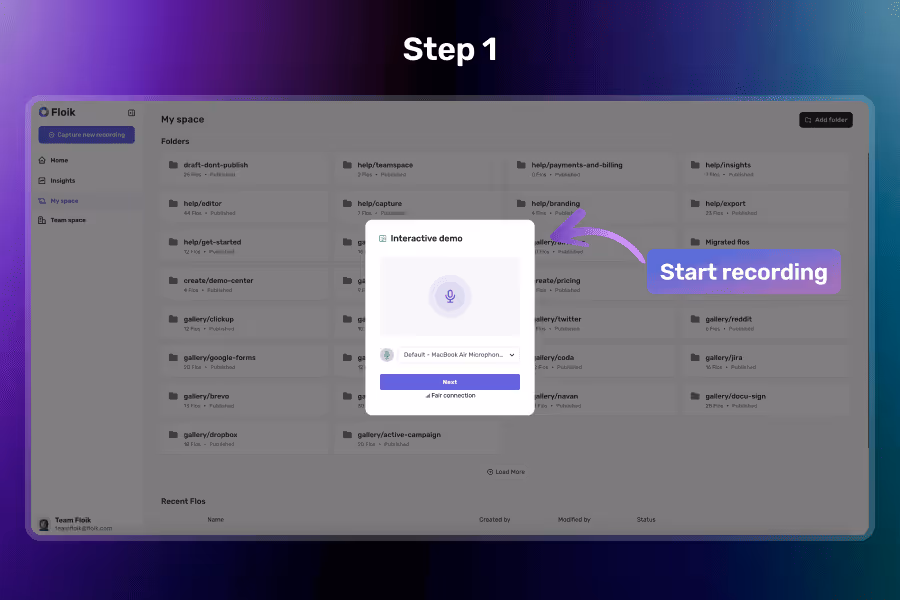
Select the desired template and Click on the “Start” button to begin capturing your screen. Floik will prepare your recording environment.
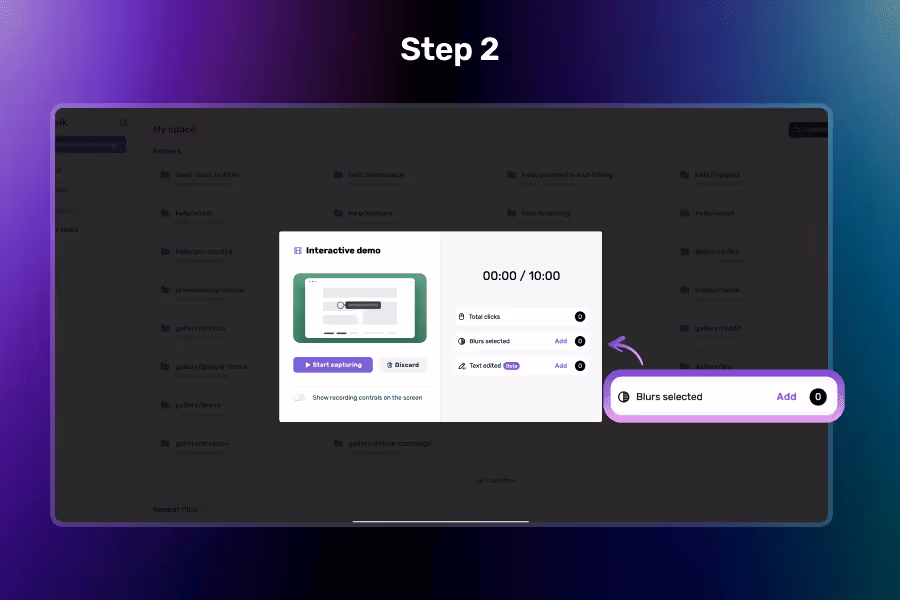
Before the recording actually starts, a modal will appear with options. Click on “Add Blur” to begin selecting areas you want to blur.
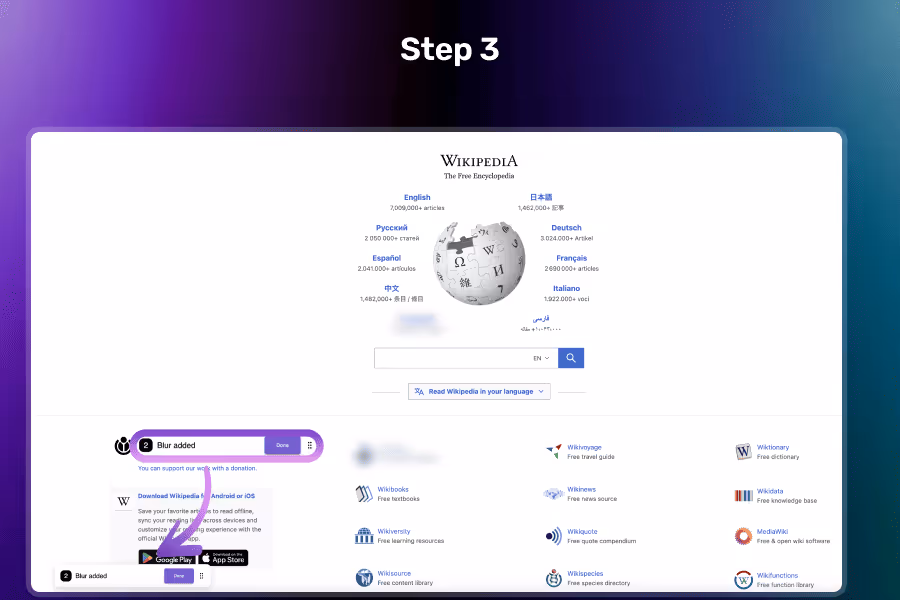
Click on any part of the webpage to apply or remove blur. Once you're satisfied, click the “Done” button to confirm and continue with your recording.
Hide emails, usernames, or any sensitive info on the page before recording begins.
Remove visual clutter and help viewers focus only on what matters in your demo.
Simply click onthe areas to blur/unblur using our intuitive on-screen tools—no editing needed later.
Once added, your selected blur areas remain in place even when you move between pages during the recording.
Yes! You can add multiple blur areas on the same page to hide all the sections you don’t want viewers to see.
You can blur any visible part of the webpage—text, images, buttons, or sections you want to hide from your viewers.
You can add or remove blurs while recording. However, once a part of the screen is already captured in the recording, the blur state at that moment is permanent and cannot be edited later.
Floik helps in creating customized self-serve interactive demos, product videos and step-by-step guides in minutes on a single platform

.svg)