Celebrate July 4th with a 10% Independence Day discount! Use coupon code — JULY4QC2024! 🤩
-p-130x130q80.avif)

.svg)


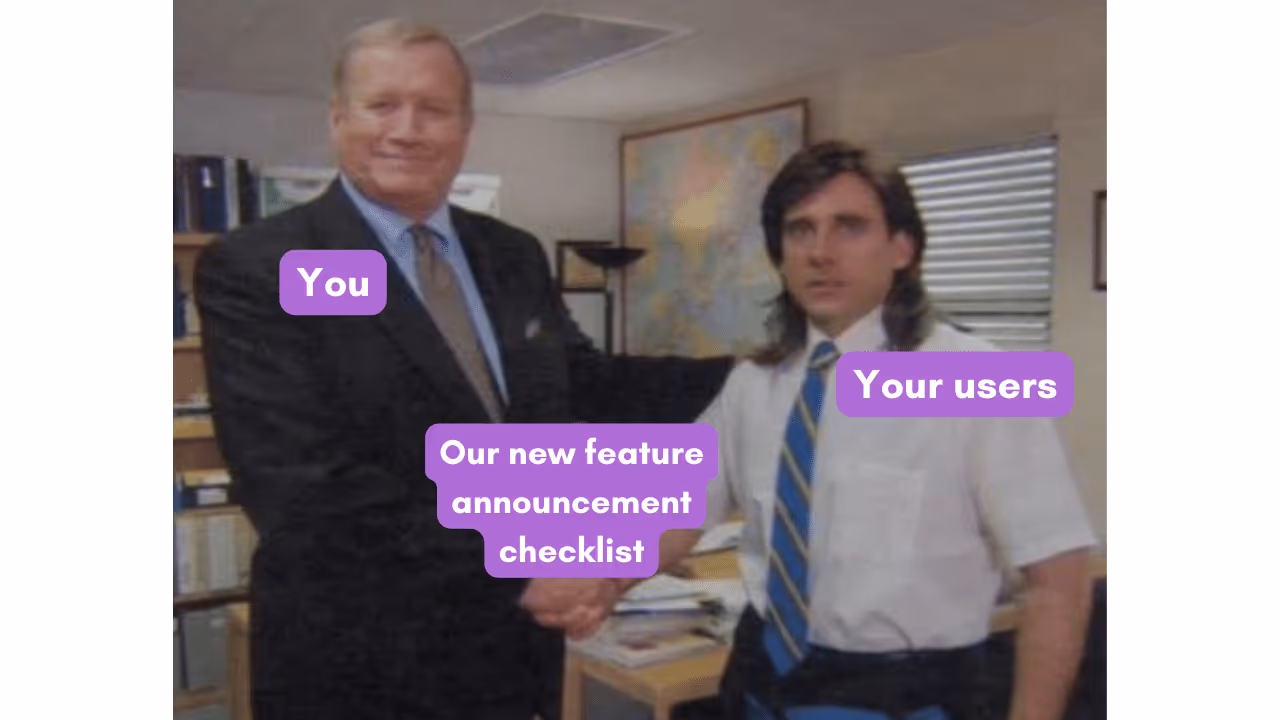
Interactive demos give your prospects a front-row seat to experience your product in action, at their own pace and time.
They don’t have to make the extra effort of signing up or wait for a sales rep to respond to their demo request. Interactive demos offer frictionless access to your product.
But not all product demos make buyers tick and drive ROI.
Wondering why?
Your interactive demo storyboard makes all the difference. A storyboard outlines the exact flow of your demo from the opening slide to the final CTA.
In this article, we’ll share a practical, no-nonsense playbook for storyboarding winning interactive demos.
A product demo walks viewers through your product’s interface allowing them to click on different hotspots and see your product in action. An interactive demo storyboard is a visual layout outlining the sequence and flow of this demo—think of it as a sequential arrangement of all hotspots, branches, and CTAs.
A good product demo storyboard allows people to effortlessly engage with and explore your product without feeling overwhelmed or confused. So, they get hands-on access and a clearer understanding of how your solution can meet their needs.
Ever looked at a blueprint of a building? It helps in clearly visualizing how the structure should look like and helps in planning the exact dimensions for construction.
A storyboard is your demo’s blueprint. It defines exactly what your showcase will look like and how it’ll appear for the end-users.
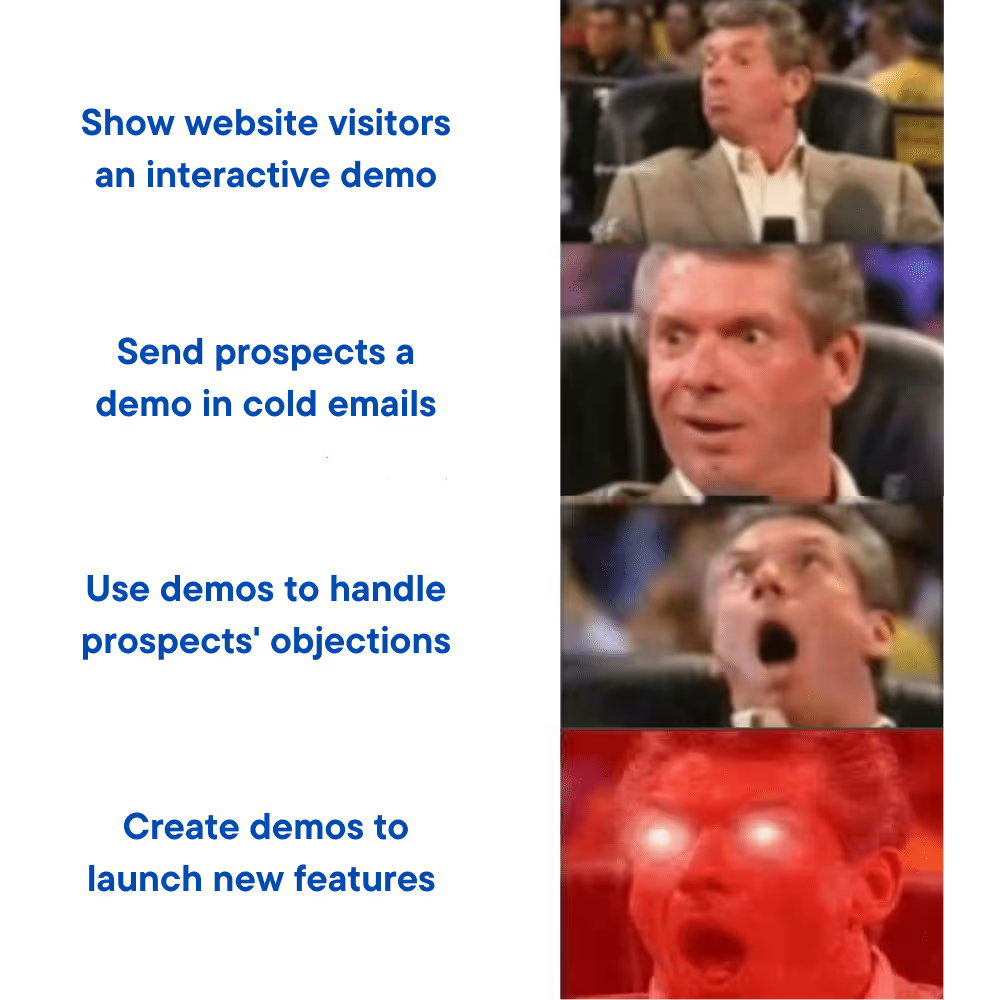
Here are a few key reasons why you should create an interactive demo storyboard 👇🏻
The bottom line: without a full-fledged storyboard, you’re setting viewers up for confusion and compromising your messaging. If the user experience is confusing and the narrative is broken, your product story would inevitably lose its impact.
Want to design a seamless storyboard to create high-impact interactive demos? Here’s our step-by-step framework for getting the best results.
“Know your audience” is boilerplate advice. But you can only produce an impactful demo when you know:
These questions will help you narrow down different target personas for a demo. For instance, Techie Tom might be a 30-year-old software developer who values advanced features, while Casual Carl could be a 50-year-old who just wants user-friendly basics.
By documenting your target personas, you can tailor the tone, language, and content to each persona’s preferences.
⚡With Floik’s Smart Call-to-Action capability, you can let end-users choose their own adventure and explore what resonates the most with them.
You can create branches within a single demo and nest multiple demos for different personas. Viewers can select the option that best fits their requirements and experience your product from the most relevant perspective.

Besides identifying your target audience, you should also define a demo’s main objective—a specific purpose you’re creating it for. You can create product demos for so many objectives, like:
You can tailor your storyboard to a specific purpose and ensure that every element of your demo, from visuals to narration, aligns with your intended outcome.
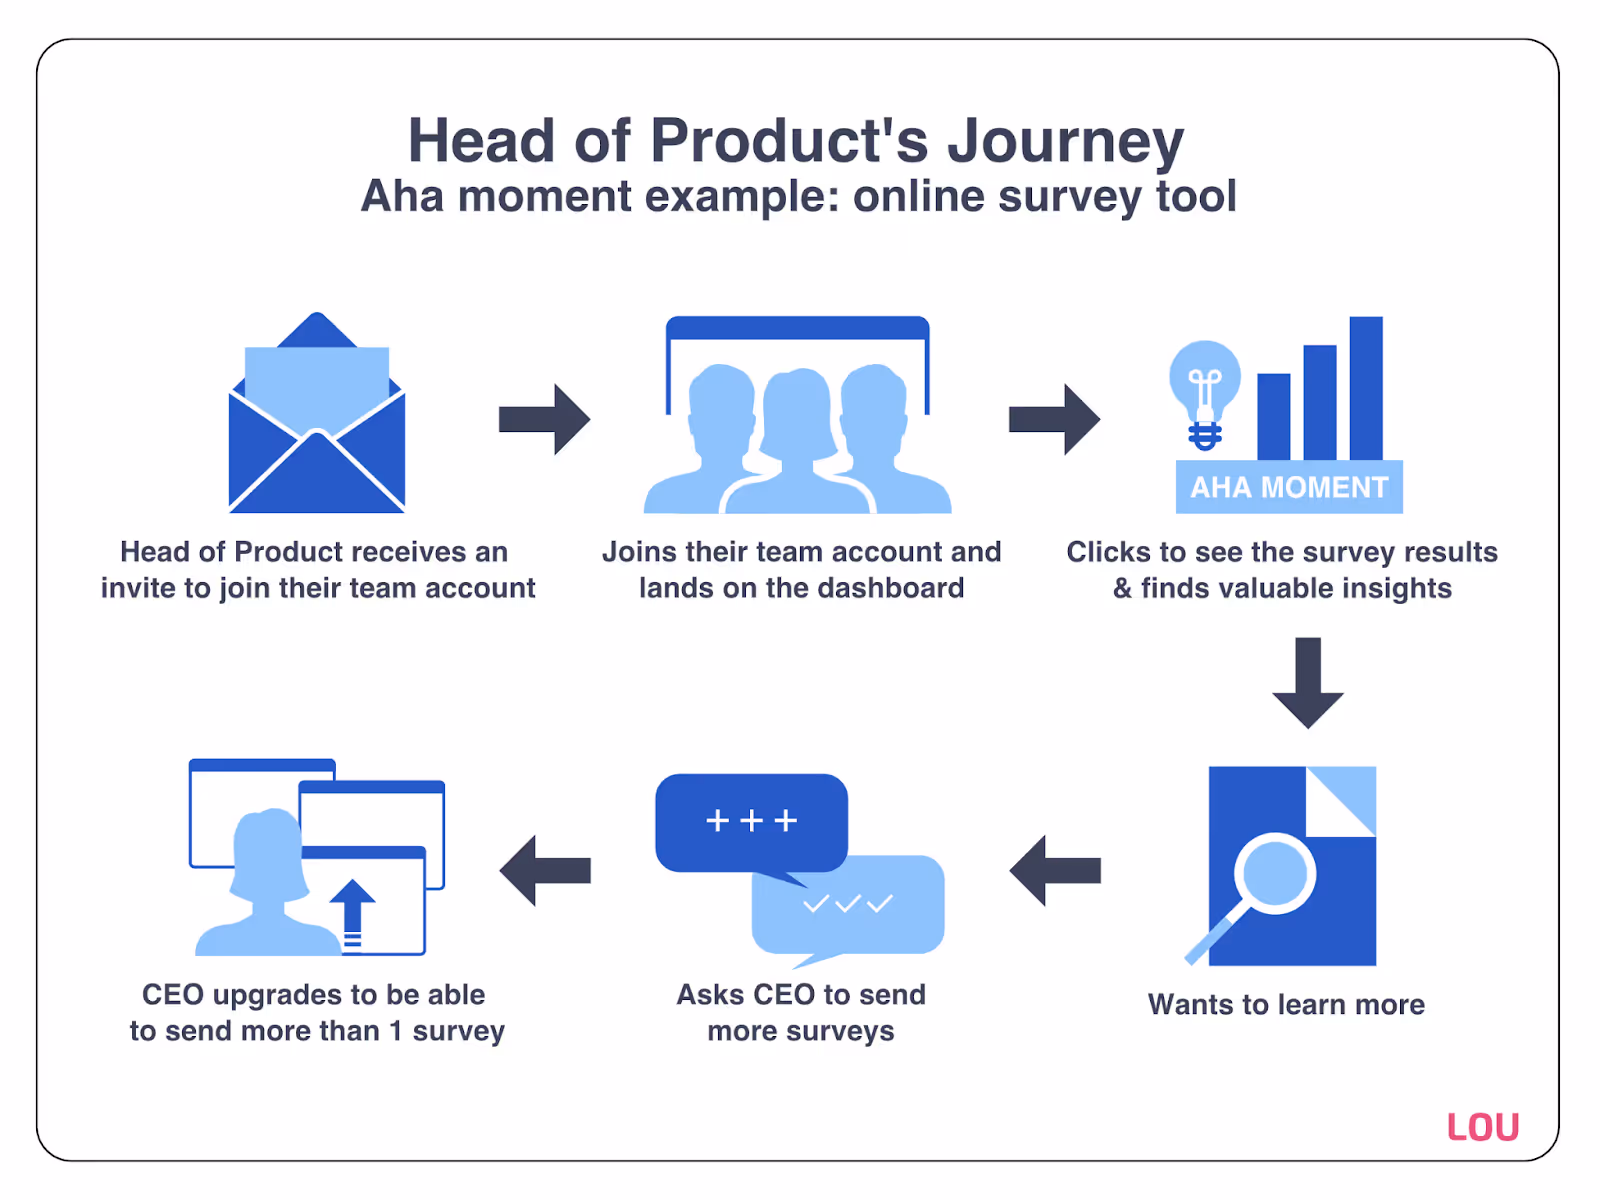
An "aha! moment" is when a new user realizes your product’s actual value or use cases.
It's that instant when the light bulb goes on, and something that was previously confusing becomes clear.
These moments are compelling because they make users feel like your product can help them achieve specific goals, triggering a rush of dopamine.
Integrating aha! moments in your product demos can turn passive viewers into engaged prospects. Once they experience an aha! moment, they’ll be more motivated to try your product and talk to your team.
Here’s how you can identify and highlight aha! moments for your product demos:
Here’s an example demonstrating what an aha! moment looks like in the journey of a new user 👇🏻
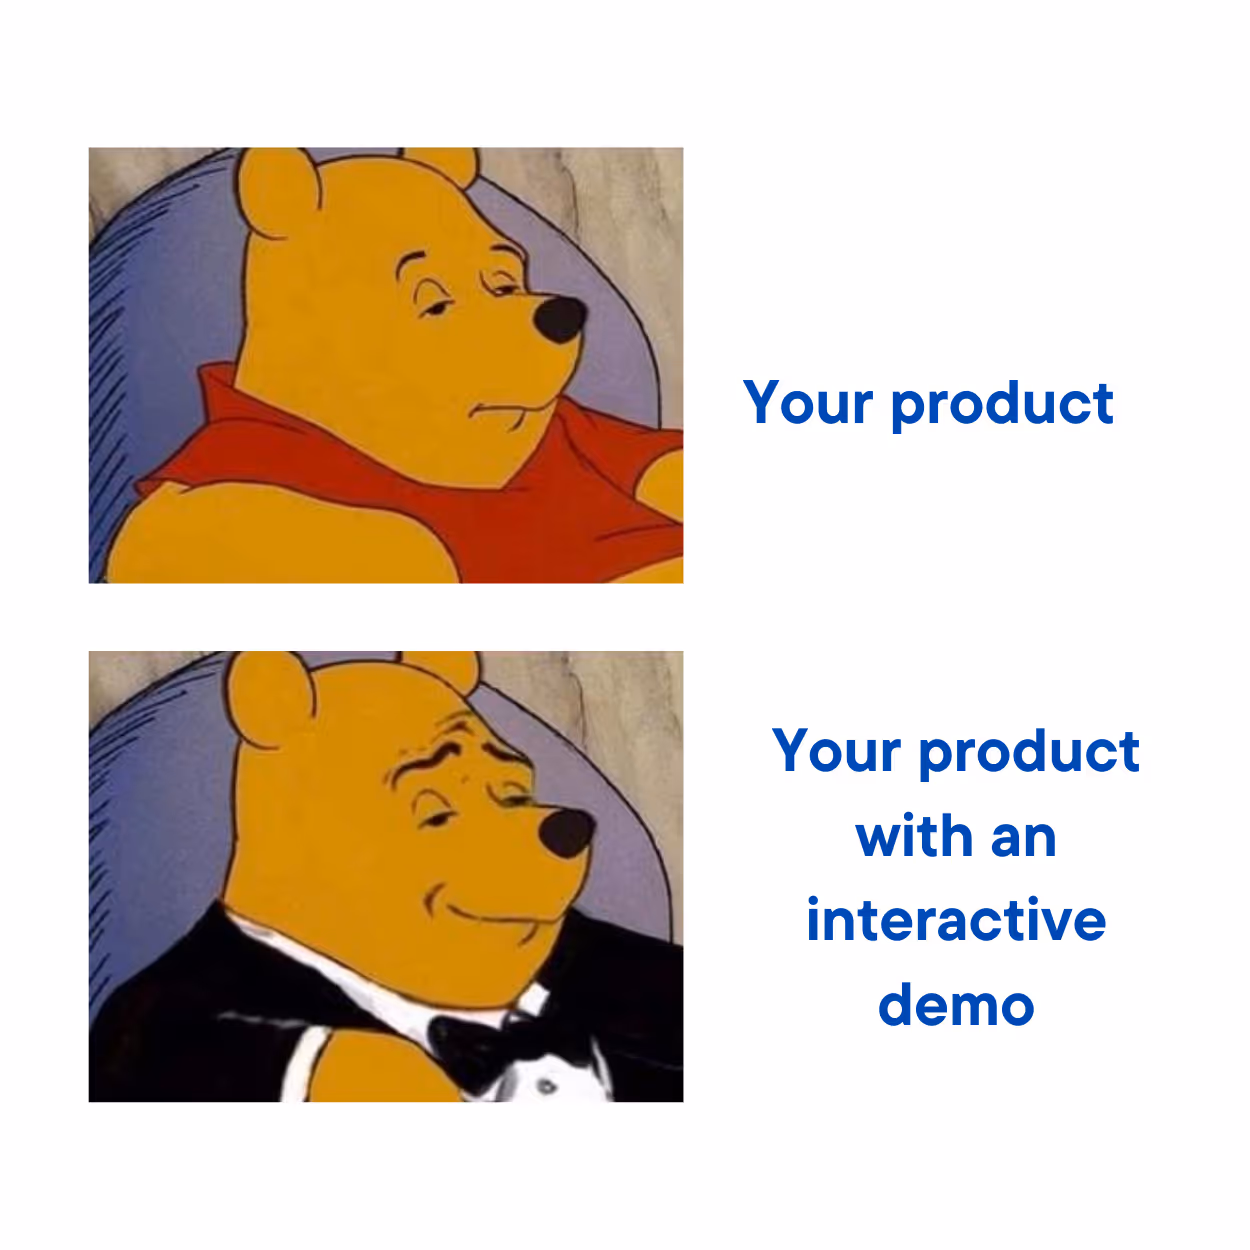
Not all interactive demos are created equal.
If you're introducing a complex feature to a tech-savvy audience, a longer, in-depth demo can work well. But if you want to capture the interest of cold prospects through outreach, a shorter, snappier demo would be more effective.
So, once you’ve established your demo’s purpose and key moments to highlight, you can determine its length.
As a best practice, you should keep your demos 10-15 steps long.
Longer demos can feel tedious to click through, and shorter ones might not convey your entire message. Hit the sweet spot with 10-15 steps!
Now, it’s time to do the real heavy lifting.
Based on all the legwork you’ve done so far, start outlining your demo’s structure. Here are a few things to consider when defining the structure:
Then start creating a step-by-step storyboard for your interactive demo. Every step is an opportunity to introduce an unaware user to your product’s potential. So, think from their perspective and write a crisp description of the message to convey.
While writing the final copy, remember to prioritize clarity over cleverness to make a reader-friendly and engaging demo.
Your goal is to guide viewers through your demo effortlessly. So, avoid jargon or overly technical language—unless it's appropriate for your audience.
Before diving straight into the demo creation process, spend time documenting your demo’s flow. This ensures that your demo progresses logically, is easy to follow, and effectively communicates the intended message.
This documentation ensures that each step in the demo builds upon the previous one. It’s a litmus test for preventing confusion or information overload.
Besides, having a clear flow streamlines the production process. It gives your team a blueprint to work with complete alignment. And you can keep collecting user feedback on this documented storyboard until you get it right!
Use tools like Notion, Google Docs, Coda, or Canva to jot down the step-by-step flow of your interactive demo storyboard.
Once you've prepared the groundwork with a well-defined storyboard, it's time to bring your demo to life! And this is where Floik gives you an edge.
Floik is purpose-built to create winning product demos in a few minutes. You just have to toggle the browser extension and record your screen and show your product in action.
Then, you can work with an intuitive editor to refine this demo, customize it per your branding, and make it more impactful. With Floik, you can:
Once you’re happy with the final output, it’s easy to publish and roll it out. You can simply copy a link to share it with anyone, or copy a smart embed code to upload on a website or landing page.
What’s more, Floik brings you granular insights about each product demo’s performance. You can get a pulse of your users to see what’s working well and what’s not working.
An interactive product demo tells your product’s story. You need a storyboard to make this narrative as intriguing and exciting as possible!
So, bookmark this guide for the next time you create interactive demos. And don’t forget to sign up on Floik to create beautiful demos in minutes.
Floik helps in creating customized self-serve interactive demos, product videos and step-by-step guides in minutes on a single platform


.avif)


.avif)
.avif)
.avif)
.avif)
.avif)
.avif)

.avif)
.avif)